EVERYTHING CLEARLY IN REACH

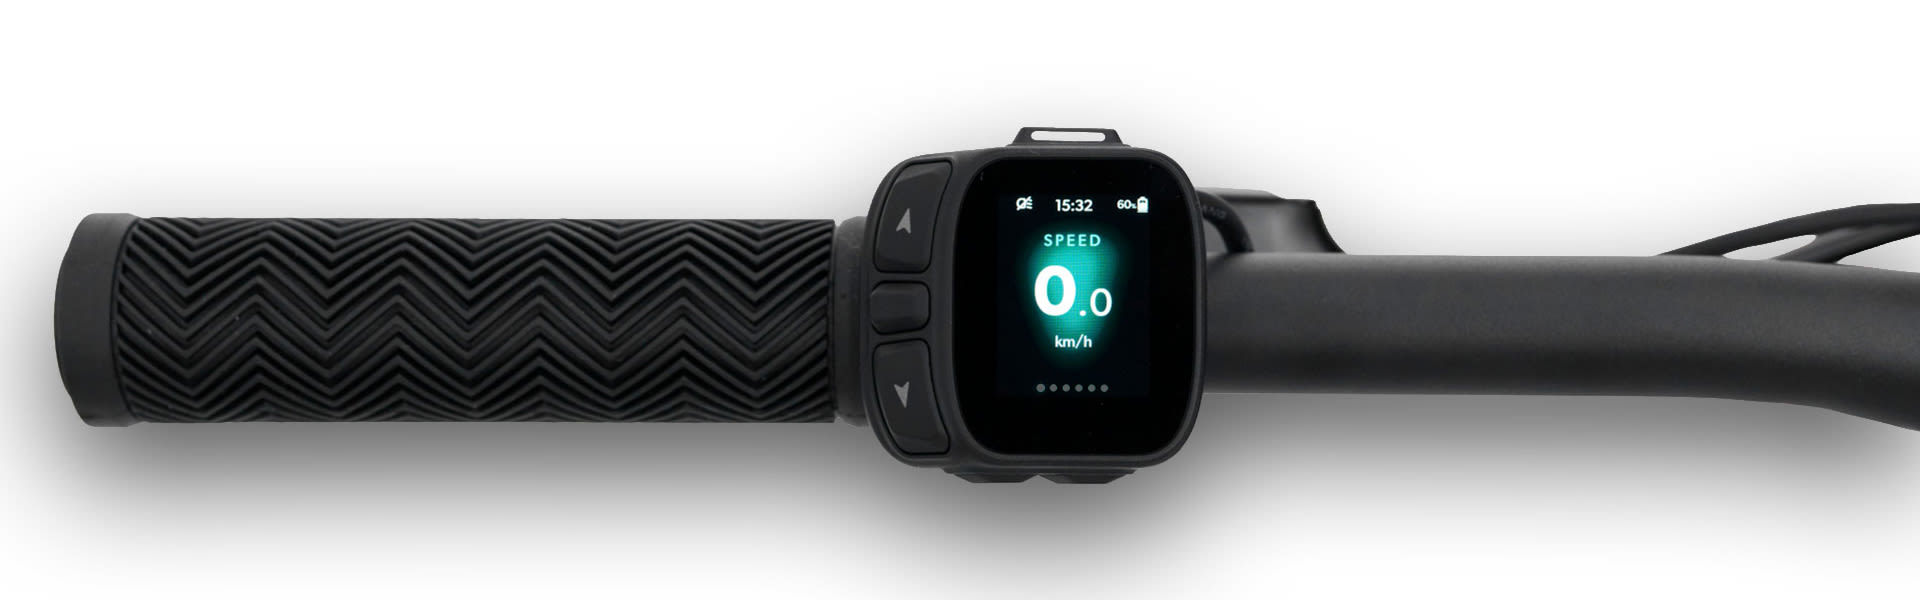
Make every ride better with essential data that’s easy to view and controls that are simple to use. With a compact two-in-one design, RideControl Dash 2 puts intuitive buttons and a vibrant high-resolution display on your handlebar, so you can see ride data, battery status, remaining range and smart alerts. Anti-fog visibility and all-weather durability keep you connected, confident and ready for what’s ahead.

Available exclusively on the latest Giant E+ System E-bikes.

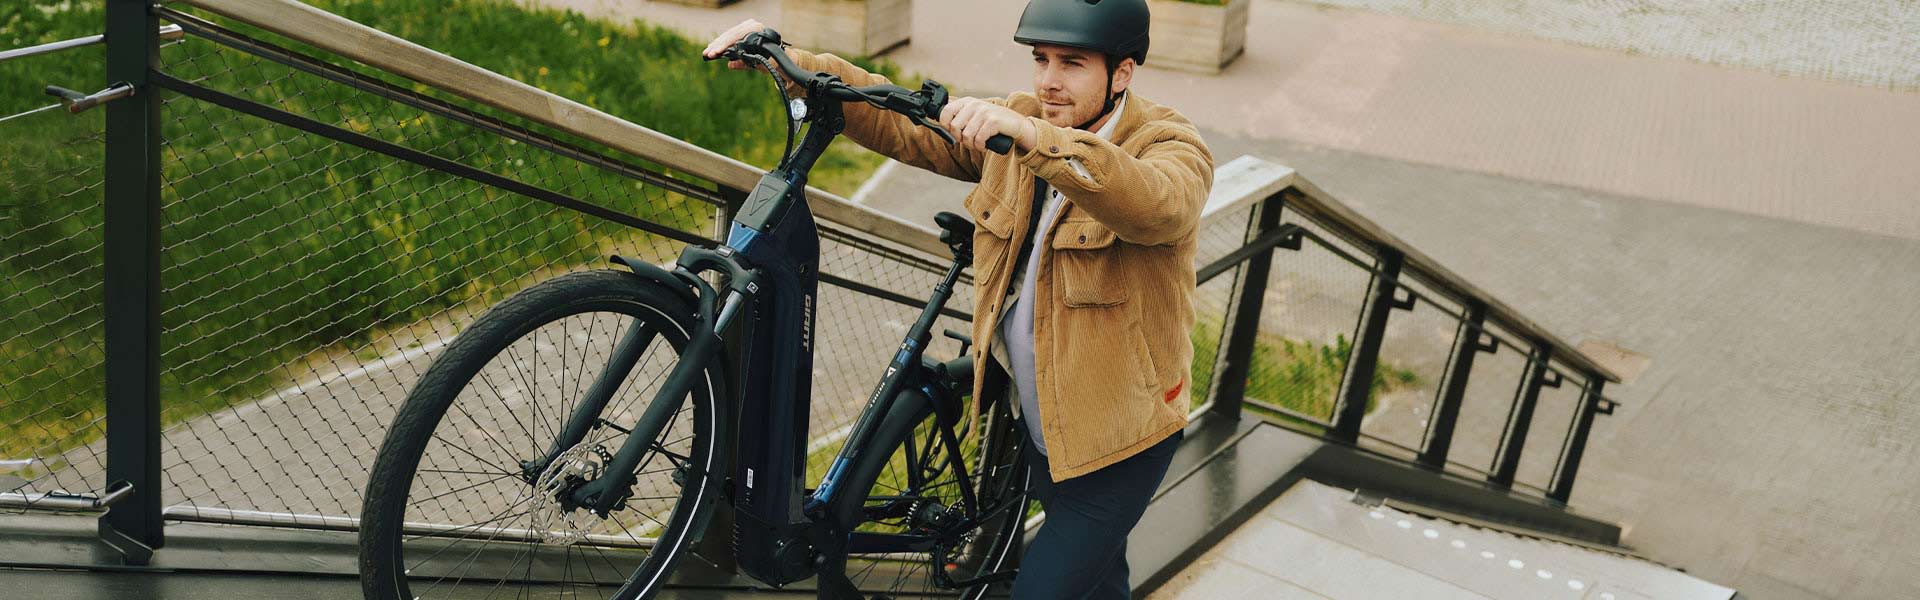
Person riding E-Bike

BALANCED COCKPIT

Clean handlebar mounting keeps the cockpit organized, with essential ride information and controls exactly where you need them.

Person adjusting RideControl Dash 2

RIDE DATA THAT MATTERS

See speed, time, distance and cadence as you ride, then review your summary to understand the journey and plan the next one with confidence.

RideControl Dash 2

WEATHER READY

IPX6 and IPX7 waterproofing give you all-weather dependability in wet riding conditions.

RideControl Dash 2 Walk assist.

WALK WITH SUPPORT

Walk Assist adds controlled support when guiding your E-bike by hand, making it easier to push up hills and manage challenging terrain.

RideControl Dash 2 odometer

RANGE MADE CLEAR

Battery status and remaining range are clearly visible, giving you more confidence between stops.

Previous slide
Next slide

RIDECONTROL APP FEATURES

RideControl Dash 2 turns every journey into a clearer, more connected experience. From route guidance to real-time ride data and post-ride summaries, it helps keep you informed and reach your destination without any worries.

NAVIGATION MADE CLEAR

With route guidance displayed right on your handlebar, every turn is easy to see without taking your attention off the road or trail ahead. The RideControl App lets you plan routes before you ride and follow guidance with greater ease.

MAKE IT YOURS

Customize interface settings through the RideControl App, so key information and functions match the way you ride.

CUSTOMIZE

Every ride is easier to manage when key data and controls sit together. RideControl Dash 2 combines a compact color display with intuitive handlebar buttons.  Speed, range, support modes and essential ride information are all easy to read and simple to adjust.

Person adjusting RideControl Dash 2
PLAN
Plan your route, monitor range, and keep ride essentials clearly in view, so you can move through the city with confidence and fewer distractions.
Person riding E-Bike
FLOW
Switch support modes easily as the terrain and riding conditions change, from efficient cruising to stronger assistance.
Rider climbing hill on E-Bike
TRACK
Track your cadence as the road or trail climbs. Managing your effort and momentum makes it easier to tackle steep, technical terrain with total control.

HOW IT WORKS

From the first touch, the E+ System is easy to manage. Clear buttons, customizable settings, and direct access to key functions make every command intuitive, whether you are starting your ride, changing support levels, or managing a quick stop.

EVERY COMMAND MADE CLEAR

Move through key ride screens, adjust support, activate Walk Assist, and manage daily functions with buttons placed close to your natural hand position. Each action is designed to feel quick, simple and easy to repeat.

LOCK FROM THE CONTROLLER

Use E-Lock directly from the controller without your phone. Enter your personalized PIN on the display to lock or unlock your E-bike, making quick stops simpler and easier to manage.

E-SHIFT WITHOUT INTERRUPTION

On select E-shift equipped models, RideControl Dash 2 brings shifting control directly into the cockpit. Use the buttons beneath the display to make quick adjustments without removing your hands from the handlebar, keeping you focused on the ride.

SERVICE & SUPPORT

Helpful support resources make RideControl Dash 2 easier to set up, check and use with confidence. From display visibility and power button feedback to mounting checks, key functions and connection support, these resources help keep ride data clear and control simple from the handlebar.

COMMANDS AT HAND

Use these quick guides to support display setup, mounting checks and key control functions. Each one focuses on simple actions that help keep essetial ride information visible, controls easy to manage and the cockpit secure before you ride.

Video RideControl Dash 2.0
RideControl Dash 2.0

FREQUENTLY ASKED QUESTIONS

First, check that the battery is sufficiently charged and locked correctly in the bike. Then power the bike on and confirm whether the display and E-bike assistance function normally. If the bike works correctly but the power button LED still does not light up, the issue may be limited to the LED indicator.

Possible causes include water damage, impact damage or an internal LED issue.

No. The LED is part of the RideControl unit and should not be repaired or replaced by the user. Contact an authorized Giant retailer if support is needed.

If the display, buttons, support modes and E-bike system work normally, the bike may still be usable. Because the LED provides useful system feedback, we recommend having it checked by an authorized Giant retailer.

No. If the clamp is cracked, loose or damaged, stop riding and contact an authorized Giant retailer. A damaged clamp may allow the display to move or detach while riding.

Check whether the display is firmly attached to the handlebar. Do not overtighten the bolt. If the clamp looks damaged or the display does not stay in position, contact an authorized Giant retailer.

You may gently check whether the display is loose. If minor adjustment is needed, use a 3mm hex key and tighten carefully by hand. Do not overtighten the clamp bolt.

The official clamp tightening specification is 1.8Nm. If you are unsure or do not have the correct torque tool, ask an authorized Giant retailer to check it.

For minor position adjustment, a 3mm hex key may be used. Tighten carefully by hand and do not overtighten the clamp. Overtightening can damage the clamp, display or handlebar.

For basic assembly or position adjustment, use a 3 mm T handle hex key. If removal is required, use the correct 3 mm tool and follow official service guidance. Tighten carefully, avoid over-tightening, and contact an authorized Giant retailer if you are not sure.

The official tightening specification is 1.8Nm. Use a torque tool where possible.

Hand-tight only if you do not have a torque tool. Do not overtighten. If you are unsure, contact an authorized Giant retailer.